The purpose of this project will be to make a web server. But of course, we need something to serve… on the web. So, for this project we are going to be using NGINX 

Prerequisites
- This project assumes that you have already followed our Raspberry Pi installation project, and have the resulting configured Raspberry Pi. If you are installing on different hardware or a different OS, these steps may not all be the same for you.
Install & Configure: Etherpad
Package installation
Before starting any work, you should always make sure you are fully up to date.
sudo apt update && sudo apt upgrade -y
Install Node.js
curl -fsSL https://deb.nodesource.com/setup_20.x | sudo bash -
sudo apt install -y nodejs
Run as a different user
sudo adduser --system --group --shell /bin/bash --home /opt/etherpad etherpad
Configure Etherpad Lite
- Clone the GitHub branch:
cd /opt/etherpadsudo git clone --branch master https://github.com/ether/etherpad-lite.git .Note: The dot (.) at the end of the
git clonecommand is important - it will clone the files into the current directory, rather than into a subdirectory. - Install dependencies:
sudo ./bin/installDeps.sh - Change the ownership of the cloned & installed files to the user you created:
sudo chown -vR etherpad:etherpad /opt/etherpad/ - Create a log directory and change it’s ownership:
sudo mkdir /var/log/etherpadsudo chown -vR etherpad:etherpad /var/log/etherpad/ -
Edit
settings.json:e.g.
sudo vi settings.json- Update the line
"trustProxy": false,to be"trustProxy": true,. This is necessary for later when we configure NGINX. - Take note of this section (even though we are not changing it). As the content indicates, by default Etherpad is going to run with a “dirty” database. This is only meant for testing purposes, and since we are testing, we are not going to change it, however you would usually want to configure a proper database at this point. But for now, moving on!
  "dbType": "dirty",
  "dbSettings": {
      "filename": "var/dirty.db"
  },
- Update the line
Create a systemd service
-
Edit a new file
/etc/systemd/system/etherpad.service.e.g.
sudo vi /etc/systemd/system/etherpad.service - Add the following content:
[Unit] Description=Etherpad-lite, the collaborative editor. After=syslog.target network.target [Service] Type=simple User=etherpad Group=etherpad WorkingDirectory=/opt/etherpad Environment=NODE_ENV=production ExecStart=pnpm run prod Restart=always StandardOutput=append:/var/log/etherpad/etherpad.log StandardError=append:/var/log/etherpad/etherpad-error.log [Install] WantedBy=multi-user.target - Reload to get the new configuration.
sudo systemctl daemon-reload - Enable the new service, so that it runs when the Pi starts.
sudo systemctl enable etherpad - Start the service
sudo systemctl start etherpad - Check its status (make sure it is
active (running))sudo systemctl status etherpad -
Navigate to http://localhost:9001 in a web browser. You should now see Etherpad. (alternatively, from a different host on the same network,
http://<ip-address>:9001)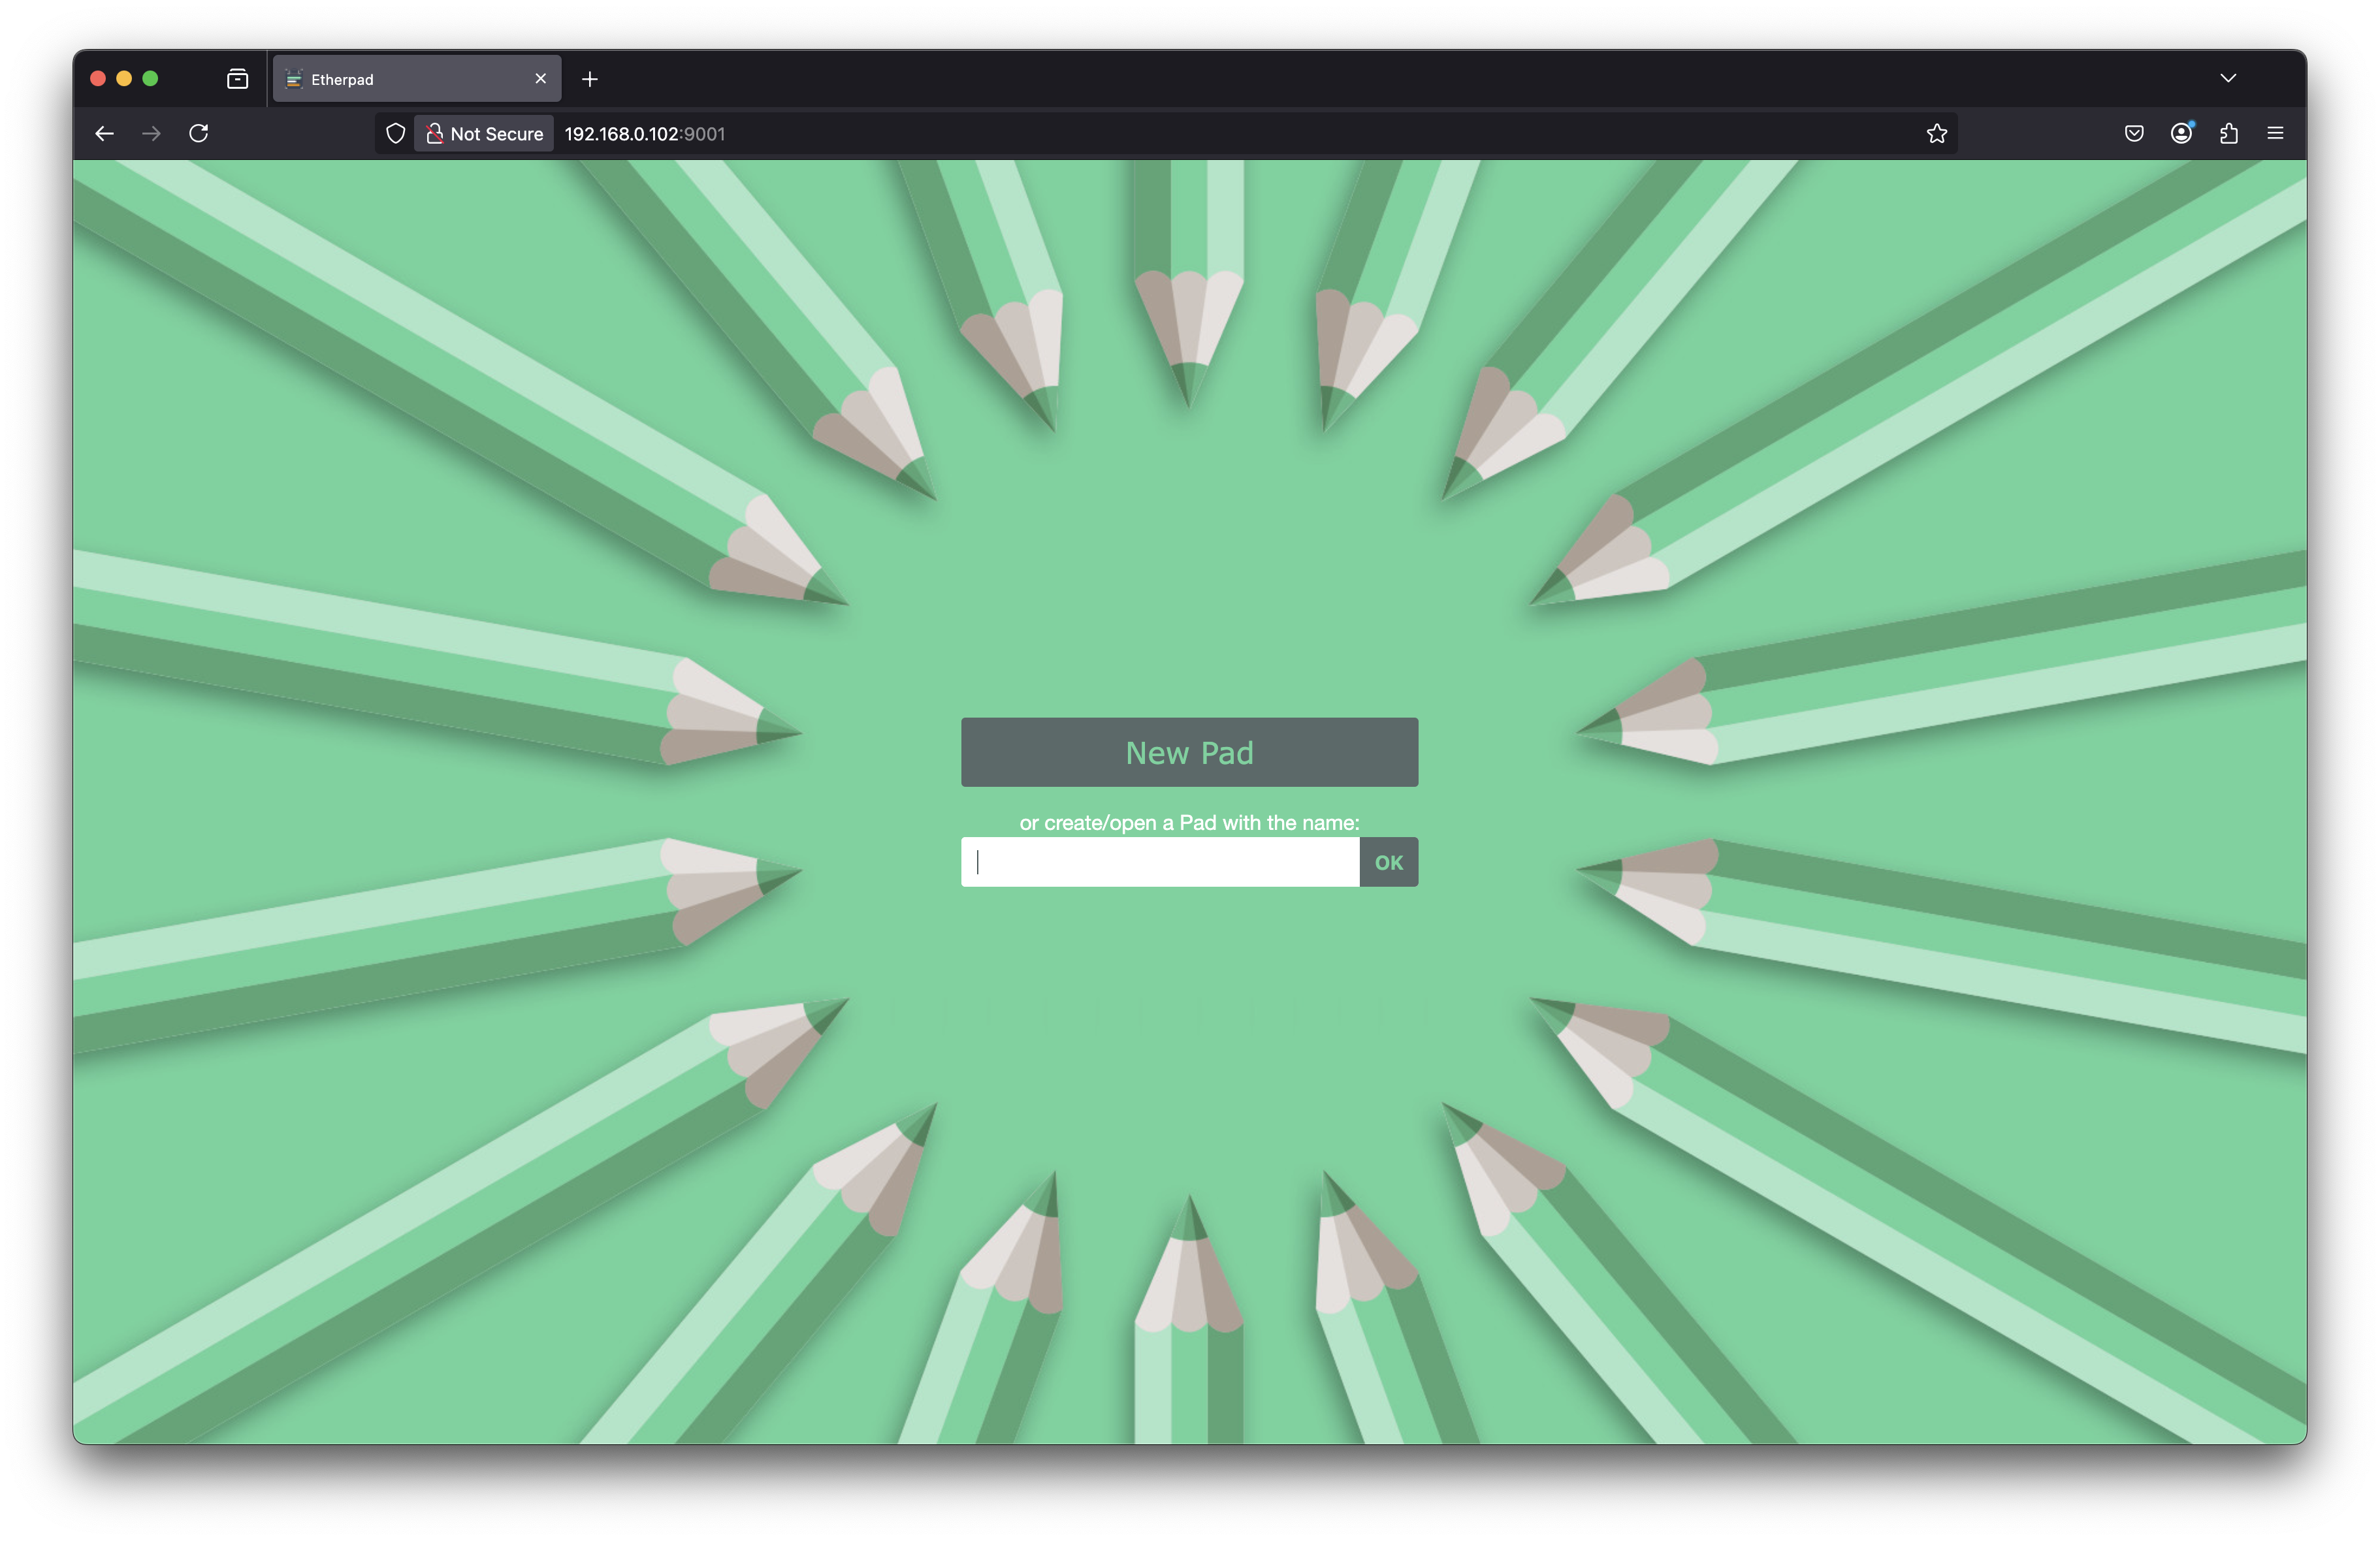
Install & Configure: NGINX
Package installation
sudo apt install nginx
Configure NGINX
Basics
Let’s talk about NGINX configuration generically for a moment.
- Server blocks
server { ... }- A configuration file may contain 1 or more server blocks
- Each server block is differentiated by which ports they listen on, and the configured server names.
- NGINX decides which server with which to process the request, then tests the URI specified in the request’s header against the parameters of the location block inside the given server block. (see also: How nginx processes a request)
- Location blocks
location <prefix> { ... }- A server block may contain 1 or more location blocks
- The
<prefix>is compared with the URI from the request - If there are several matching location blocks nginx selects from longest to shortest
- The shortest prefix of length 1,
/, will be selected if all other location blocks do not match.
- The shortest prefix of length 1,
- Examples of what can go inside a location block:
-
root directive: the URI will be added to the root directive to form the path to the requested file on the local file system
e.g.
http://localhost/some/example.html->/data/www/some/example.htmllocation / { root /data/www; } -
proxy server: pass on requests to the proxied servers & send received responses back to client
e.g.
  location / {
      proxy_pass http://localhost:8080;
  }
-
Our configuration
-
Edit a new NGINX configuration file at
/etc/nginx/sites-available/etherpad.confe.g.
sudo vi /etc/nginx/sites-available/etherpad.conf - Add the following content, replacing
<DOMAIN>with your domain. Let’s use our<hostname>.localfor the purposes of this project (e.g.druid.local). This will allow us to proceed without needing to do other configuration. (see also: Etherpad NGINX examples):server { listen 80; listen [::]:80; server_name <DOMAIN>; access_log /var/log/nginx/etherpad.access.log; error_log /var/log/nginx/etherpad.error.log; location / { proxy_pass http://127.0.0.1:9001; proxy_buffering off; proxy_set_header Host $host; proxy_pass_header Server; # proxy headers proxy_set_header X-Real-IP $remote_addr; proxy_set_header X-Forwarded-For $remote_addr; proxy_set_header X-Forwarded-Proto $scheme; proxy_http_version 1.1; # websocket proxying proxy_set_header Upgrade $http_upgrade; proxy_set_header Connection "upgrade"; } }Note: Port 80 instead of port 443. We aren’t doing HTTPS just yet.
- Enable the configuration by creating a link:
sudo ln -s /etc/nginx/sites-available/etherpad.conf /etc/nginx/sites-enabled/ - Check the configuration file syntax, and reload the NGINX service.
sudo nginx -tsudo systemctl reload nginx -
Navigate to the domain that you configured in your web browser (e.g.
druid.local). You should now again see Etherpad.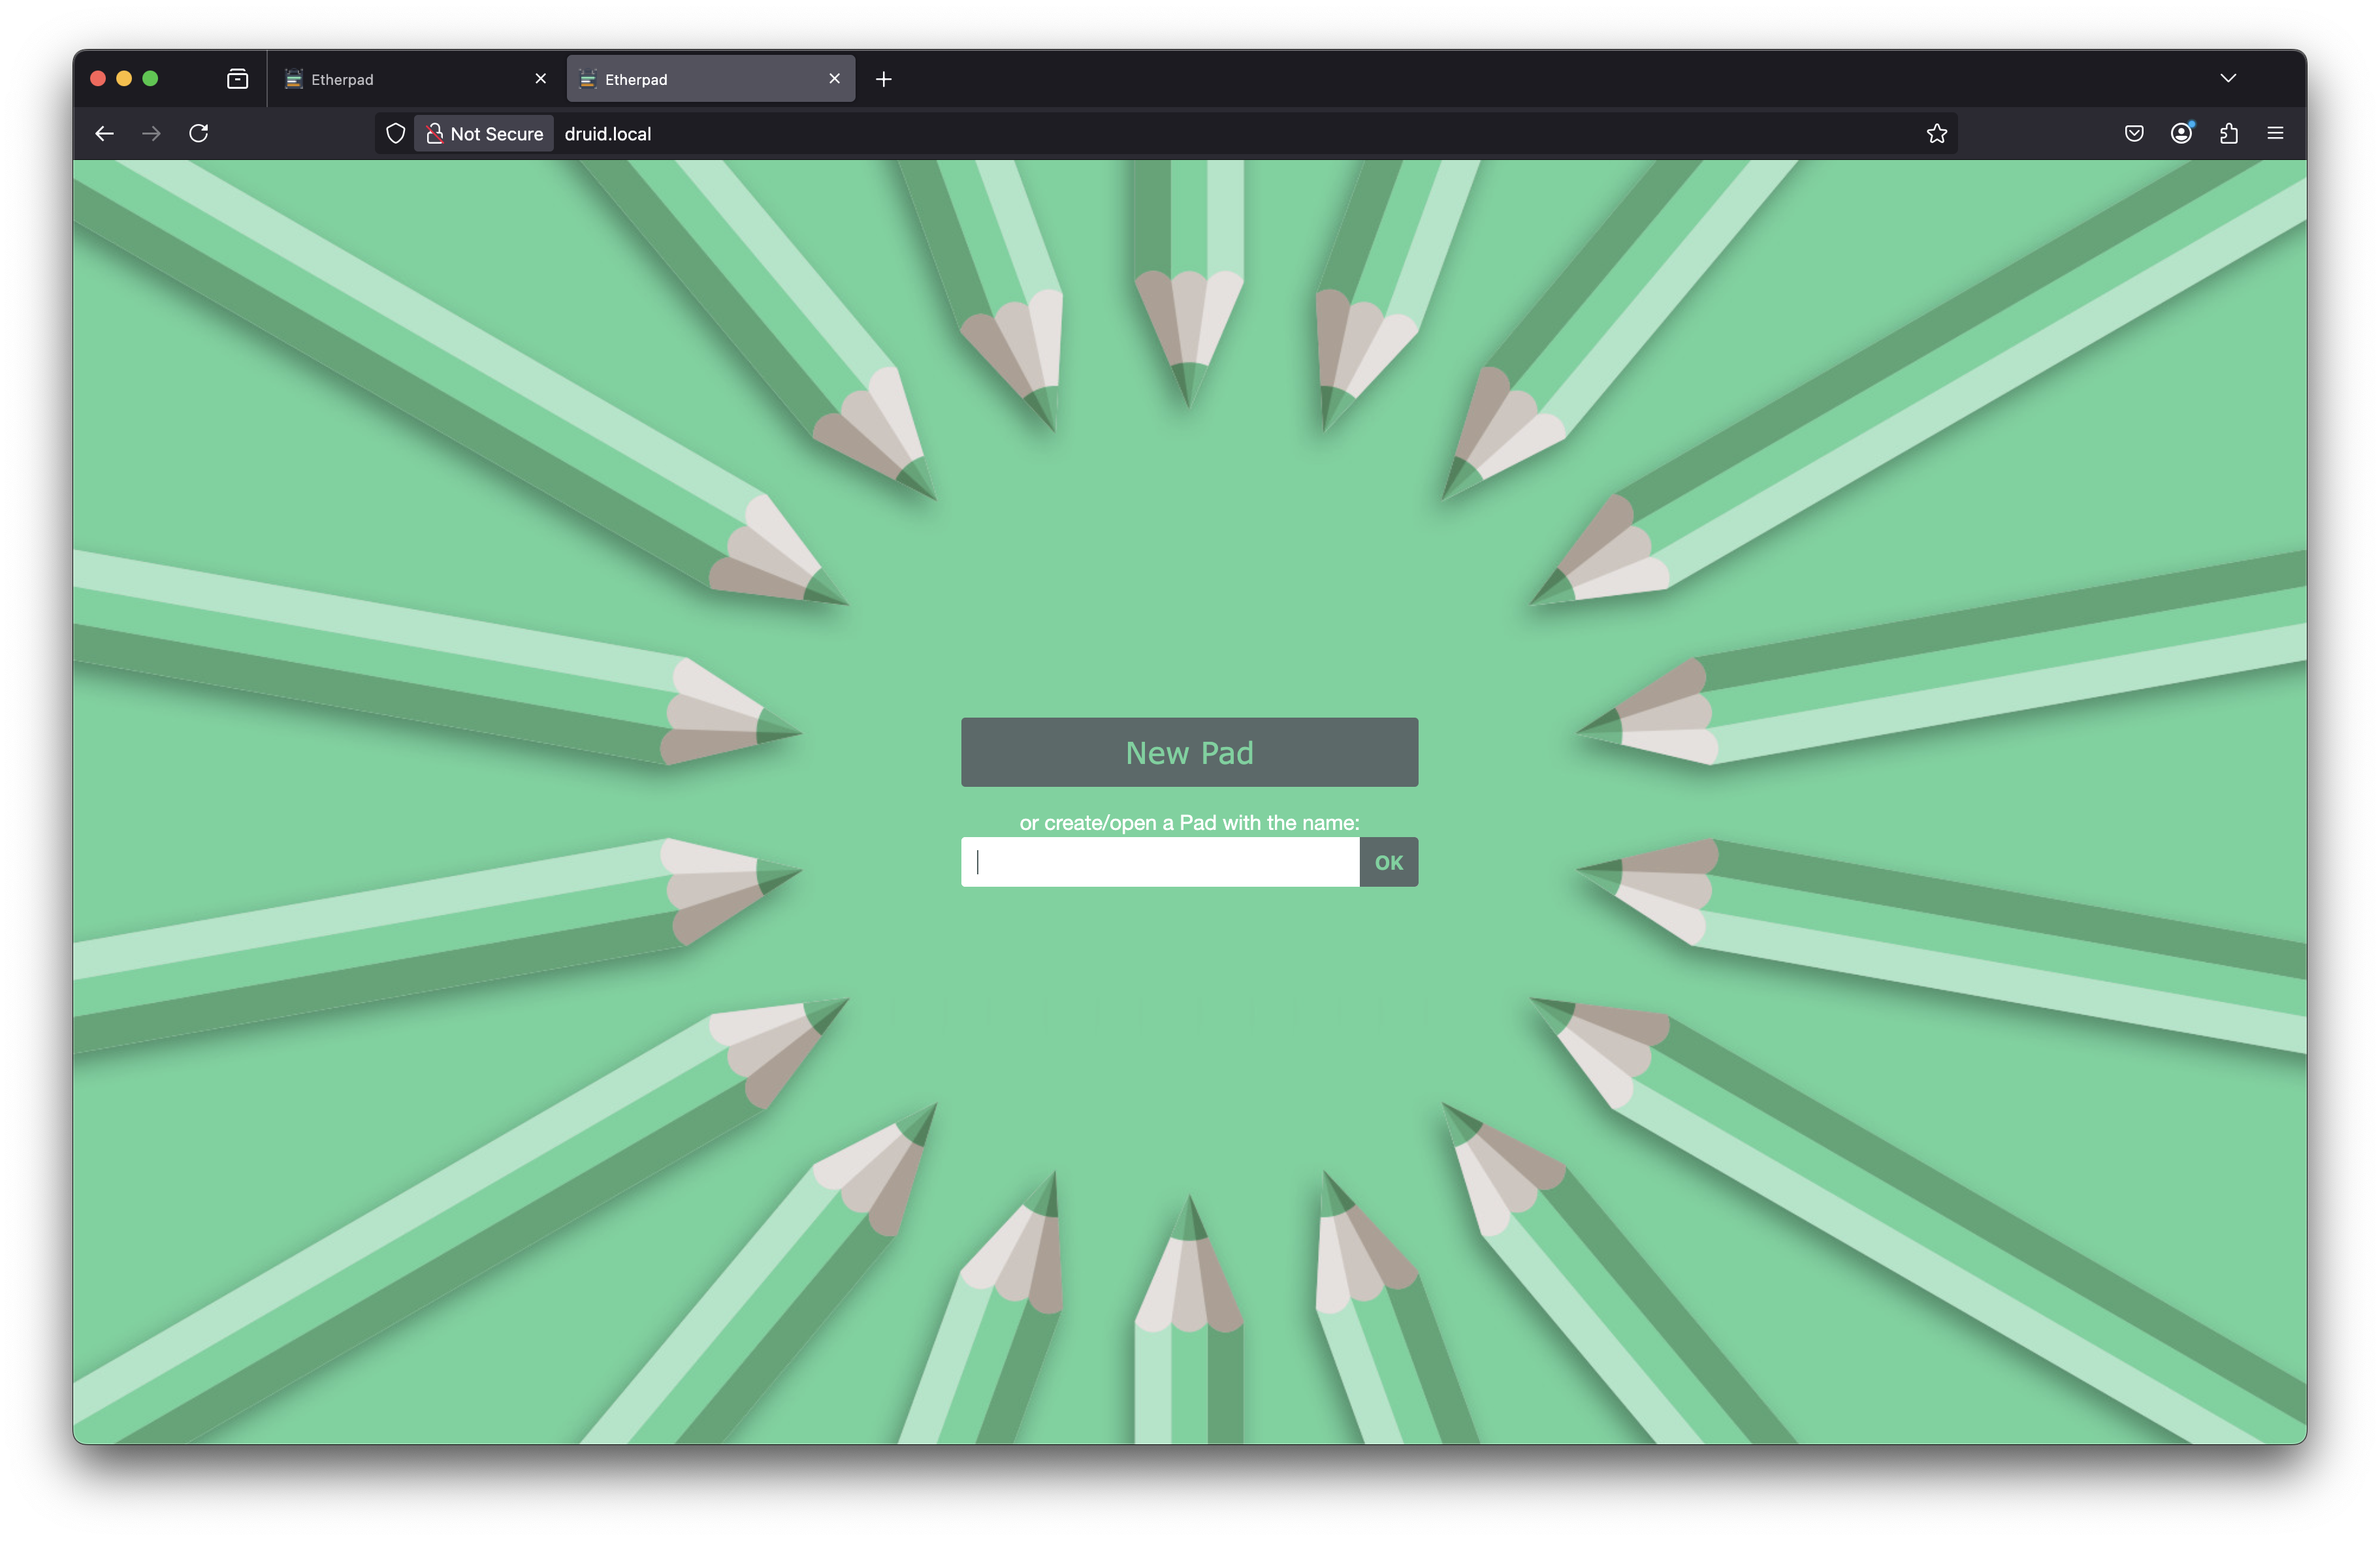
Note: If it does not load in the web browser, did you set the domain to
<hostname>.local? -
We can also test the collaboration aspect, by opening up the site on two devices, and editing a ‘pad’ of the same name. We can edit in both places, and see each others edits.
Self Signed Certificate
We can now see Etherpad at our <hostname>.local, but our browser doesn’t like it - its not secure. Let’s fix that (somewhat) by creating a quick self signed cert. For actual projects, you may want to configure a SSL cert with something like certbot.
Generate the cert
- Generate a self signed cert:
sudo openssl req -x509 -nodes -days 365 -newkey rsa:2048 \ -keyout /etc/ssl/private/nginx-selfsigned.key \ -out /etc/ssl/certs/nginx-selfsigned.crt -
You will need to give it some values (replace with your values):
e.g.
You are about to be asked to enter information that will be incorporated into your certificate request. What you are about to enter is what is called a Distinguished Name or a DN. There are quite a few fields but you can leave some blank For some fields there will be a default value, If you enter '.', the field will be left blank. ----- Country Name (2 letter code) [AU]:US State or Province Name (full name) [Some-State]:Maryland Locality Name (eg, city) []:College Park Organization Name (eg, company) [Internet Widgits Pty Ltd]:Homelab Club at UMD Organizational Unit Name (eg, section) []: Common Name (e.g. server FQDN or YOUR name) []:druid.local Email Address []:[email protected] - Create a strong Diffie-Hellman (DH) group
sudo openssl dhparam -out /etc/ssl/certs/dhparam.pem 2048
Configure NGINX
-
Point NGINX at our cert files - edit
/etc/nginx/snippets/self-signed.conf:e.g.
sudo vi /etc/nginx/snippets/self-signed.conf- Add the content:
  ssl_certificate /etc/ssl/certs/nginx-selfsigned.crt;
  ssl_certificate_key /etc/ssl/private/nginx-selfsigned.key;
- Add the content:
-
Edit SSL settings,
/etc/nginx/snippets/ssl-params.confe.g.
sudo vi /etc/nginx/snippets/ssl-params.conf- Add content:
  ssl_protocols TLSv1 TLSv1.1 TLSv1.2;
  ssl_prefer_server_ciphers on;
  ssl_ciphers "EECDH+AESGCM:EDH+AESGCM:AES256+EECDH:AES256+EDH";
  ssl_ecdh_curve secp384r1;
  ssl_session_cache shared:SSL:10m;
  ssl_session_tickets off;
  ssl_stapling on;
  ssl_stapling_verify on;
  resolver 8.8.8.8 8.8.4.4 valid=300s;
  resolver_timeout 5s;
  # Disable preloading HSTS for now.  You can use the commented out header line that includes
  # the "preload" directive if you understand the implications.
  #add_header Strict-Transport-Security "max-age=63072000; includeSubdomains; preload";
  add_header Strict-Transport-Security "max-age=63072000; includeSubdomains";
  add_header X-Frame-Options DENY;
  add_header X-Content-Type-Options nosniff;

  ssl_dhparam /etc/ssl/certs/dhparam.pem;
- Add content:
Edit our NGINX configuration for Etherpad
-
Edit the NGINX configuration file that we made previously (
/etc/nginx/sites-available/etherpad.conf)e.g.
sudo vi /etc/nginx/sites-available/etherpad.conf - Redirect HTTP (port 80) requests to HTTPS. Indicate a temporary move (302 error/redirect). We can use 301 later after we make sure everything works.
-
Add the line
return 302 https://$server_name$request_uri;after theserver_nameline, followed by a closing}. (replacing<DOMAIN>with your domain (e.g.druid.local))e.g.
  server {
      listen       80;
      listen       [::]:80;
      server_name  <DOMAIN>;
      return 302 https://$server_name$request_uri;
  }

  ...
-
- Start listening for HTTPS (port 443) (replacing
<DOMAIN>with your domain (e.g.druid.local))server { listen 443 ssl http2; listen [::]:443 ssl http2; server_name <DOMAIN>; include snippets/self-signed.conf; include snippets/ssl-params.conf; ... - Add a fix for an Etherpad related error that I ran into. I do think that has to do with the “test” environment that we are creating.
... location / { ... add_header X-Frame-Options ALLOW always; ... } ...-
Your file should now look something like (replacing
<DOMAIN>with your domain (e.g.druid.local)):server { listen 80; listen [::]:80; server_name <DOMAIN>; return 302 https://$server_name$request_uri; } server { listen 443 ssl http2; listen [::]:443 ssl http2; server_name <DOMAIN>; include snippets/self-signed.conf; include snippets/ssl-params.conf; access_log /var/log/nginx/etherpad.access.log; error_log /var/log/nginx/etherpad.error.log; location / { proxy_pass http://127.0.0.1:9001; proxy_buffering off; proxy_set_header Host $host; proxy_pass_header Server; # proxy headers proxy_set_header X-Real-IP $remote_addr; proxy_set_header X-Forwarded-For $remote_addr; proxy_set_header X-Forwarded-Proto $scheme; proxy_http_version 1.1; # websocket proxying proxy_set_header Upgrade $http_upgrade; proxy_set_header Connection "upgrade"; add_header X-Frame-Options ALLOW always; } }
-
- Check the NGINX configuration
sudo nginx -tThe warning that looks like this is expected:
labclub@druid:~ $ sudo nginx -t 2025/04/07 00:53:45 [warn] 2000#2000: "ssl_stapling" ignored, issuer certificate not found for certificate "/etc/ssl/certs/nginx-selfsigned.crt" nginx: the configuration file /etc/nginx/nginx.conf syntax is ok nginx: configuration file /etc/nginx/nginx.conf test is successful labclub@druid:~ $ - Restart NGINX
sudo systemctl restart nginx -
Navigate to the domain that you configured in your web browser (e.g.
druid.local). Regardless of if you go tohttp://,https://, or don’t specify, it should redirect you tohttps://. If promted, accept the risk & continue - we know its self signed. You should now again see Etherpad, but this time, with a cert! We can look at this cert’s info to see it is what we generated.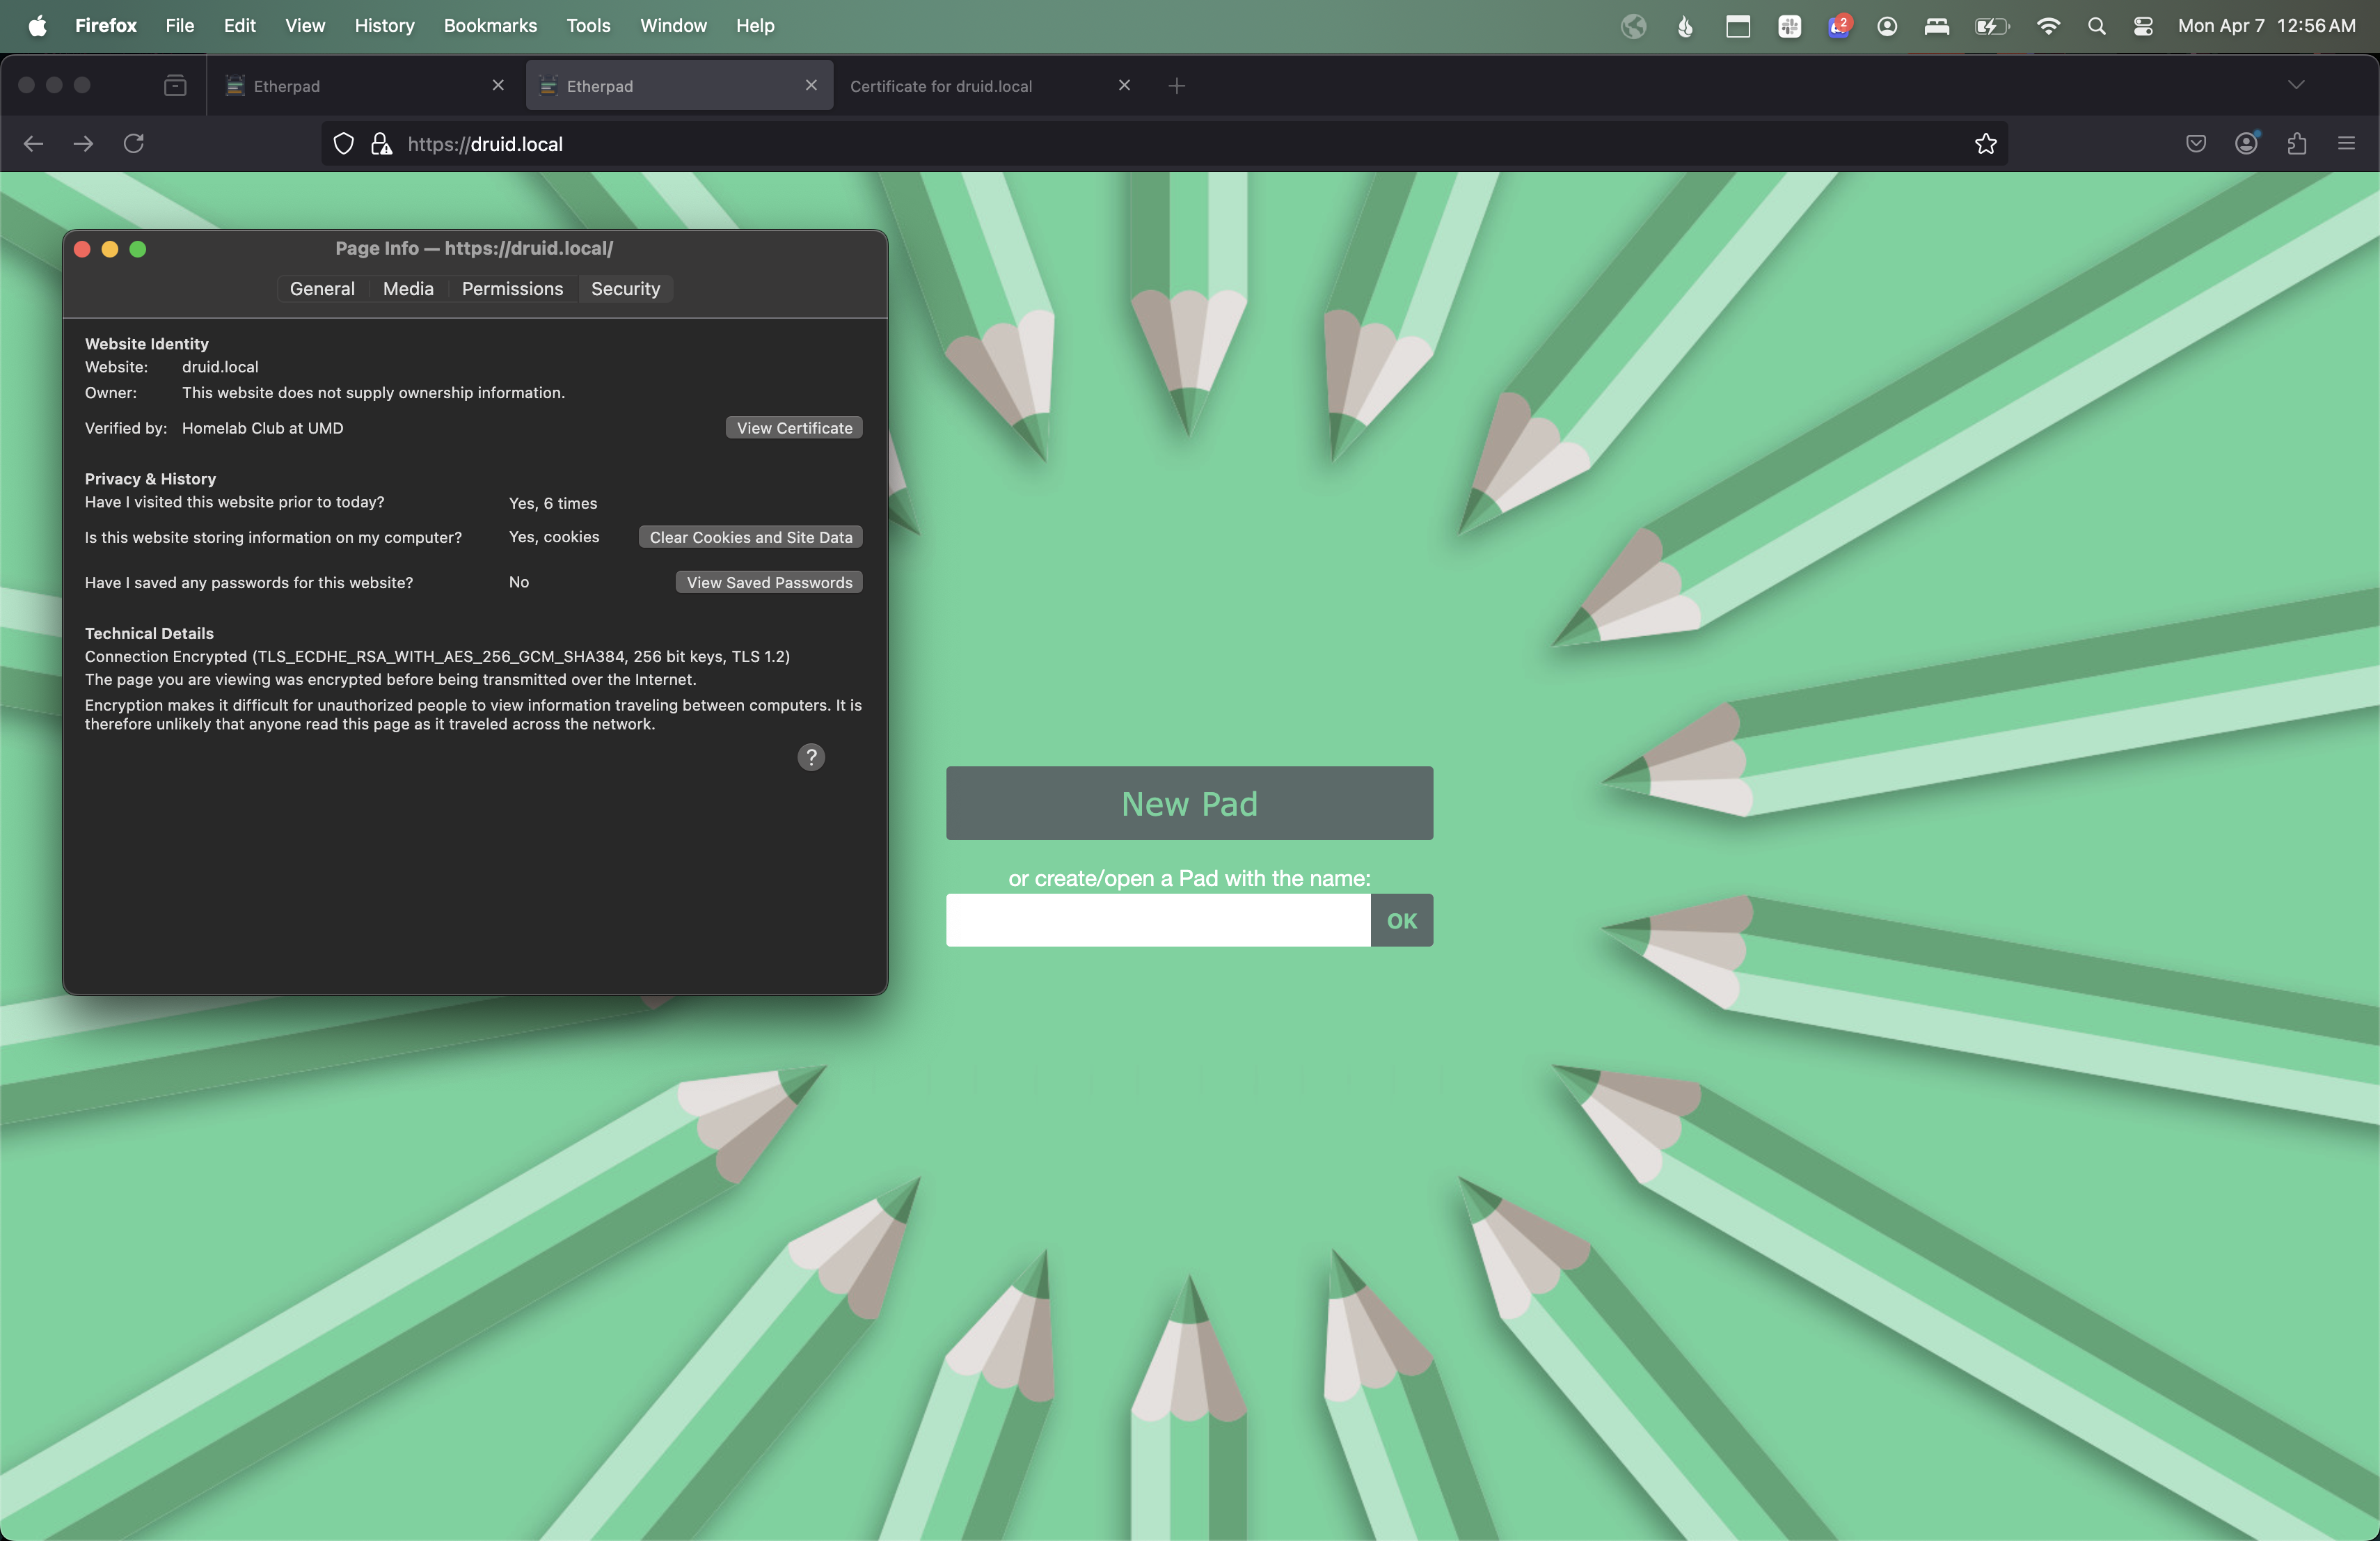

Recommended Next Steps
- Configure a firewall (e.g. UFW)
- Configure a non-self signed cert (e.g. certbot)