
Installing Raspberry Pi OS
This guide walks through installing Raspberry Pi OS on an SD card, booting a Raspberry Pi for the first time, and performing some basic configuration.
For the initial installation, we will use the official Raspberry Pi Imager.
What You’ll Need
Section titled “What You’ll Need”Before getting started, you will need:
- A Raspberry Pi
- An SD card
- A device (e.g. laptop, desktop, another pi) with:
- Raspberry Pi Imager installed
- An SD card slot, adapter, or reader
- A monitor and appropriate display cable
- A keyboard and mouse
- A power cable (or another appropriate power source, such as PoE)
- (If using a wired connection) Ethernet cable
Install Raspberry Pi OS
Section titled “Install Raspberry Pi OS”Insert the SD card into the computer running Raspberry Pi Imager and open Raspberry Pi Imager.
-
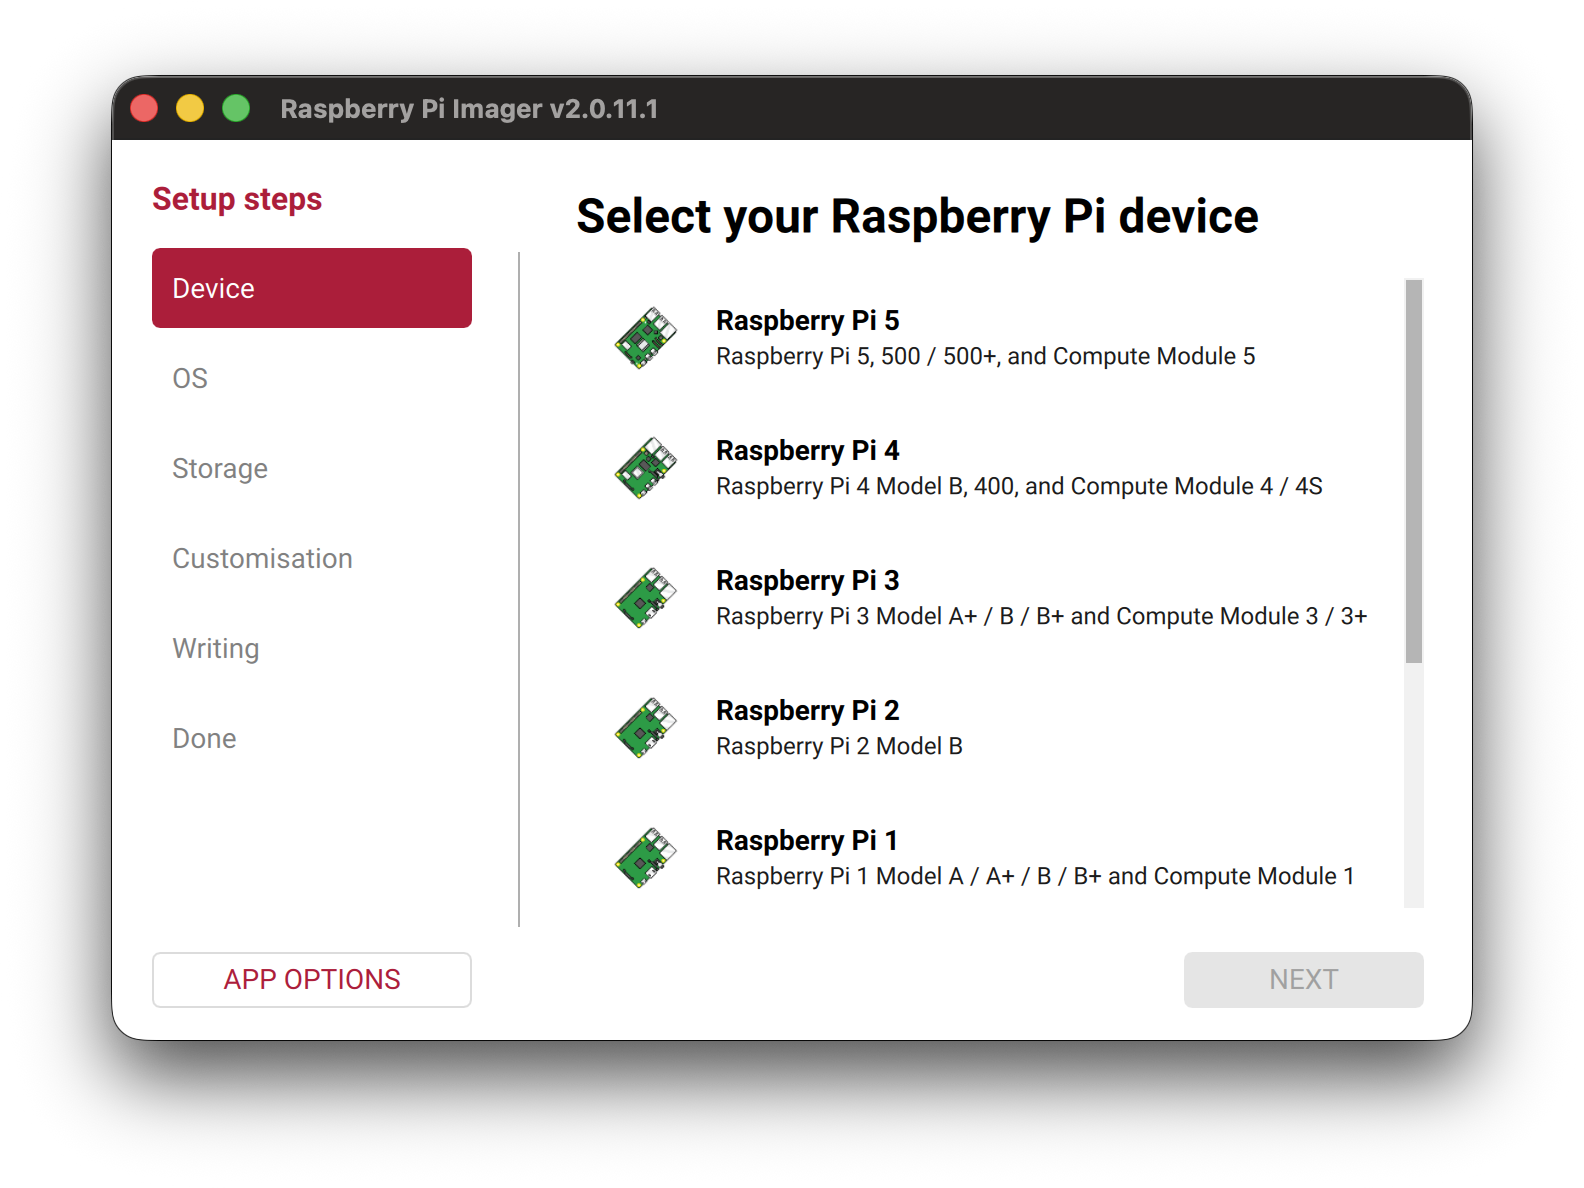
Choose your Raspberry Pi
Select the model of Raspberry Pi you are installing the operating system on.
For example: Raspberry Pi 4
-
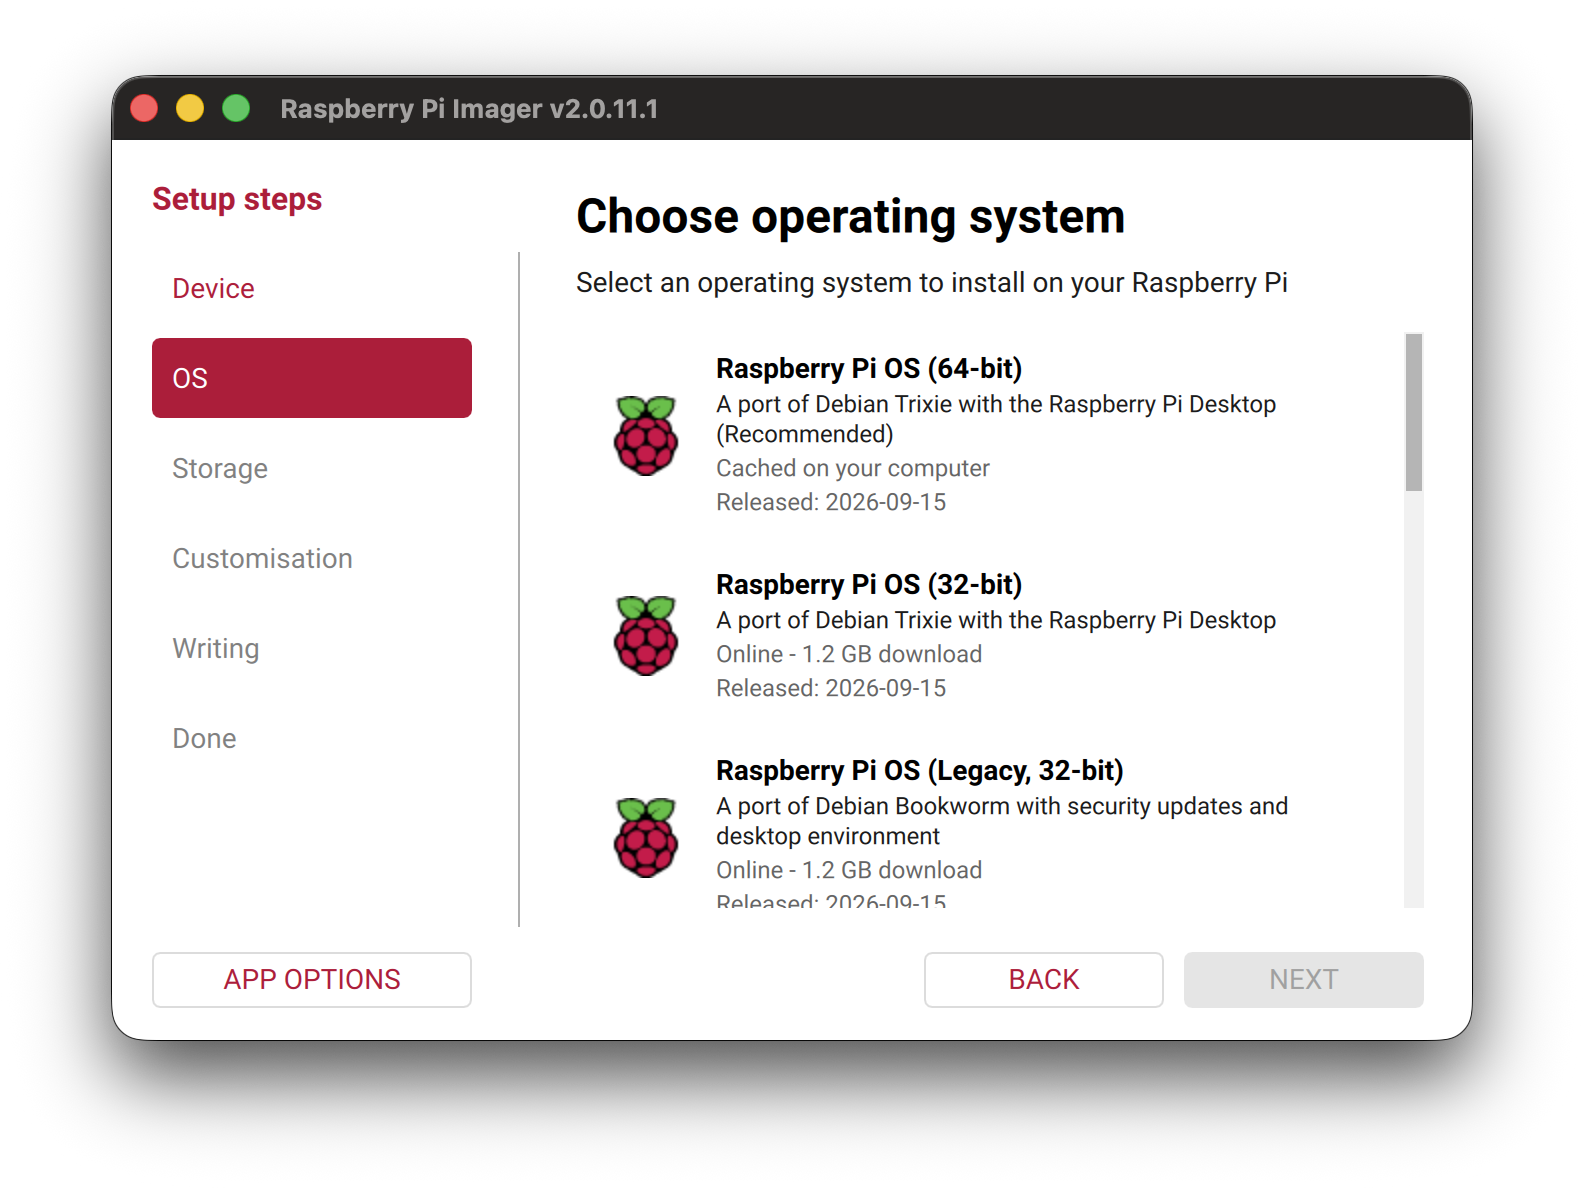
Choose the operating system
Choose the operating system you want to install on your Raspberry Pi.
For example: Raspberry Pi OS (64-bit)
-
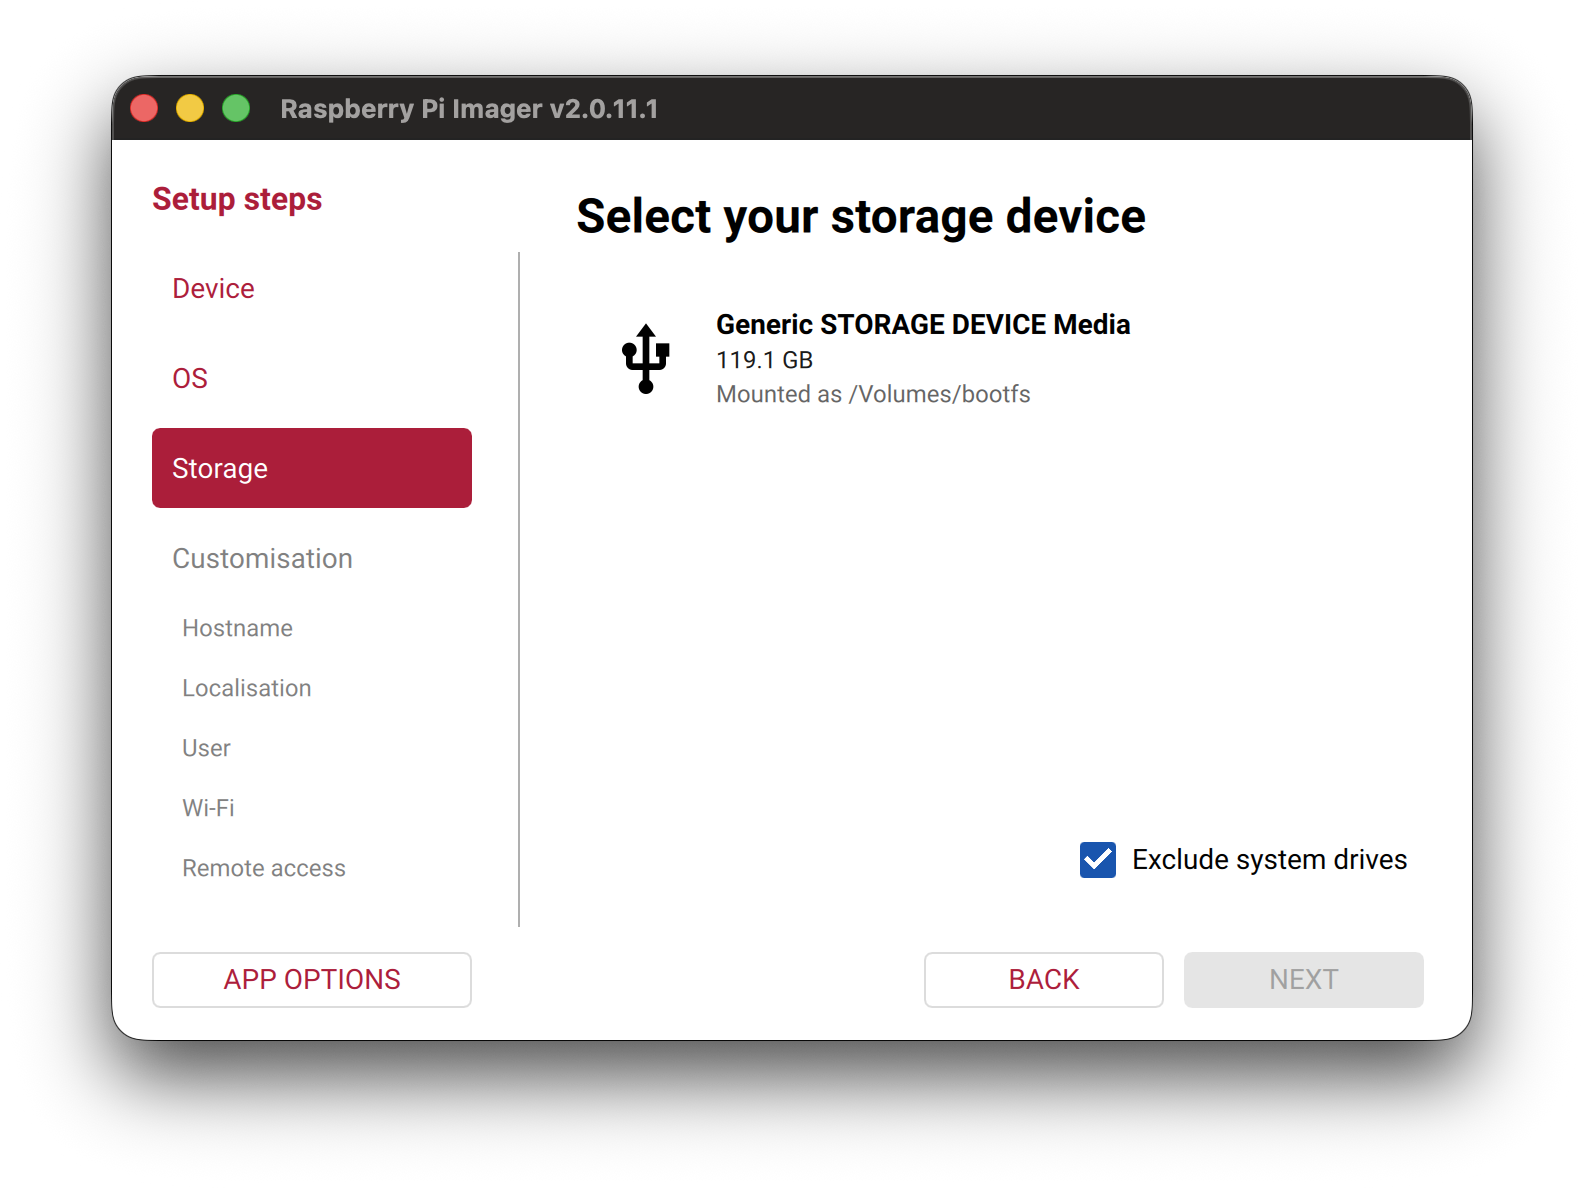
Choose your storage
Select the SD card you inserted.
-
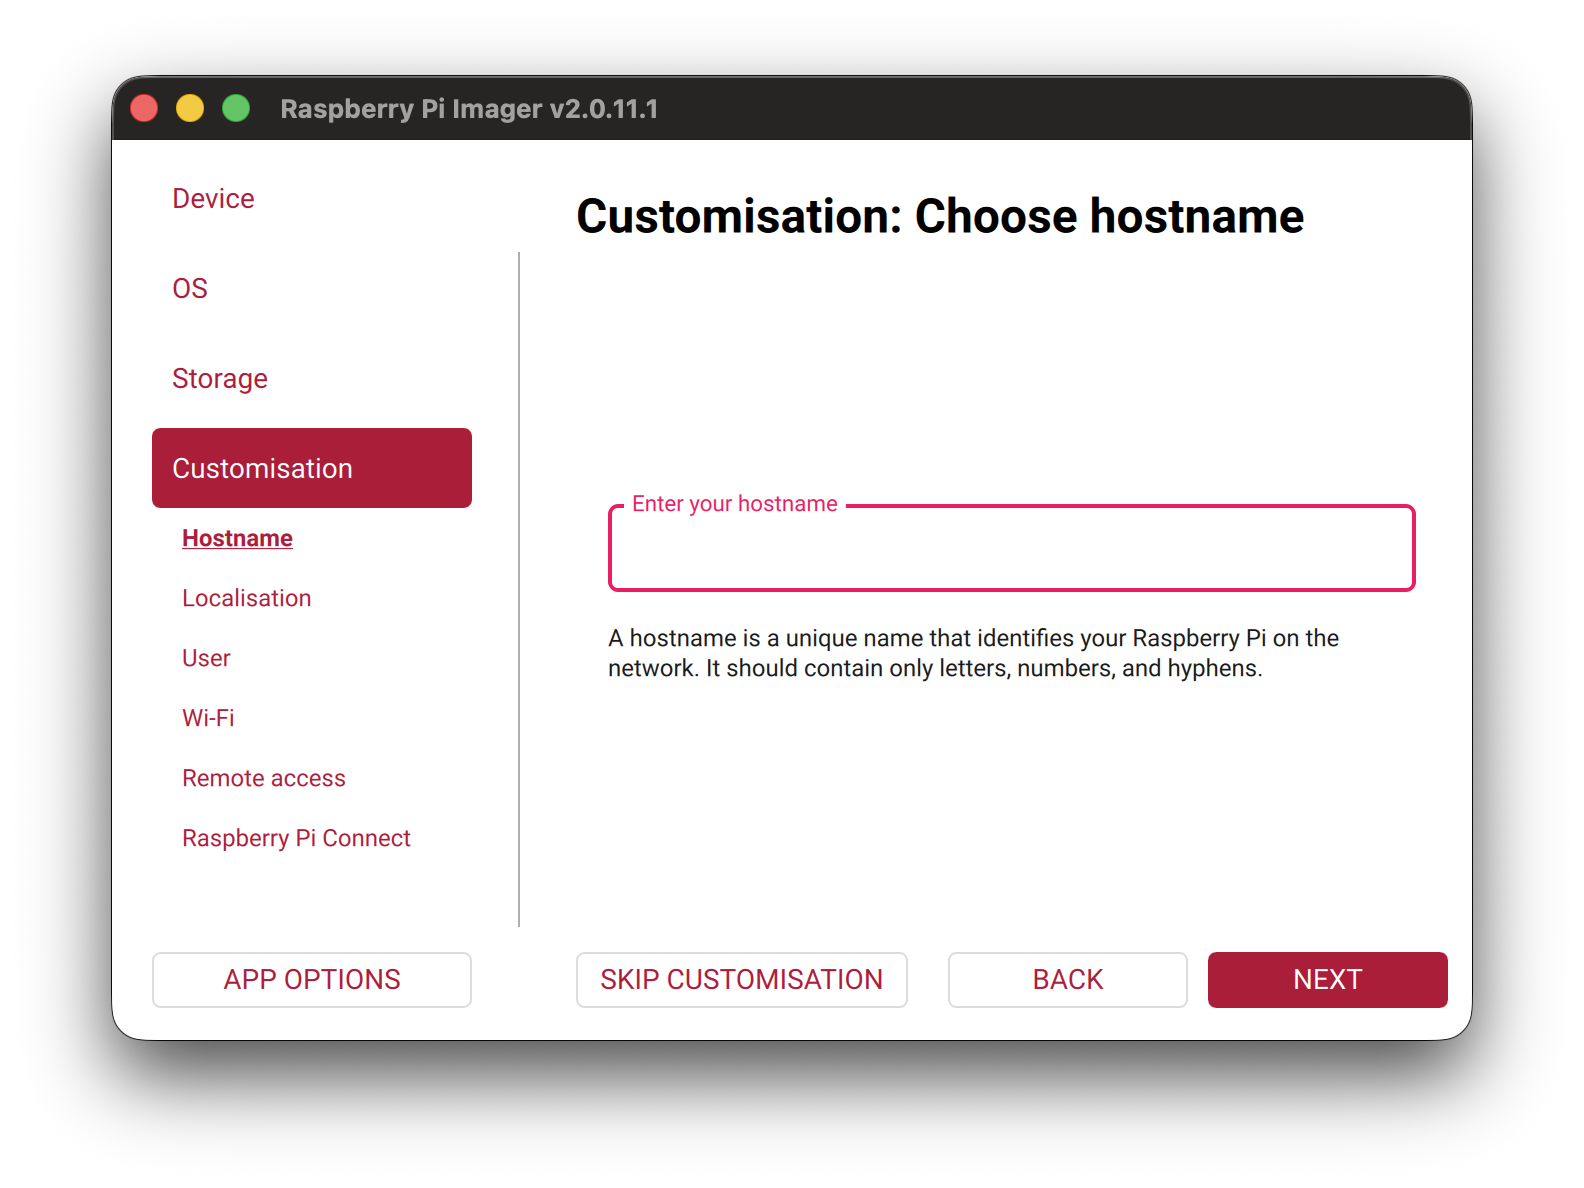
Customization: Set Hostname
Enter the hostname for your Raspberry Pi.
-
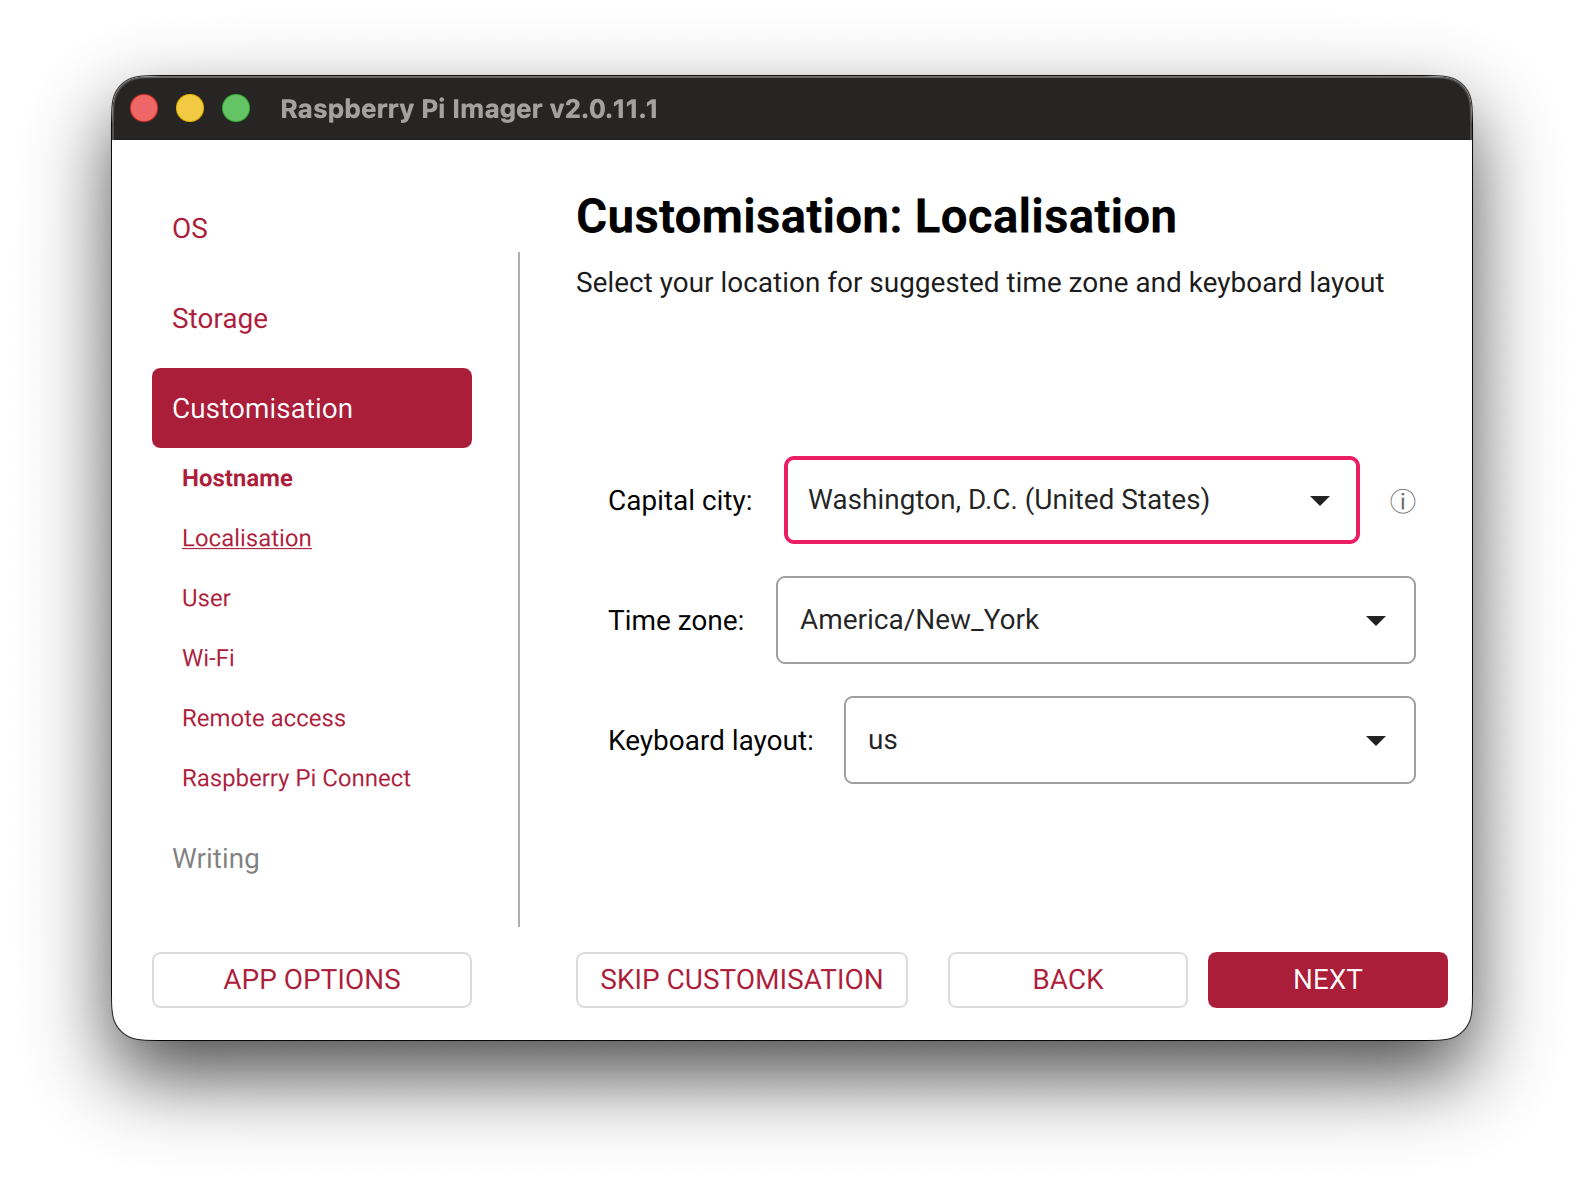
Customization: Set Localization
Configure the localization settings for your Raspberry Pi.
-
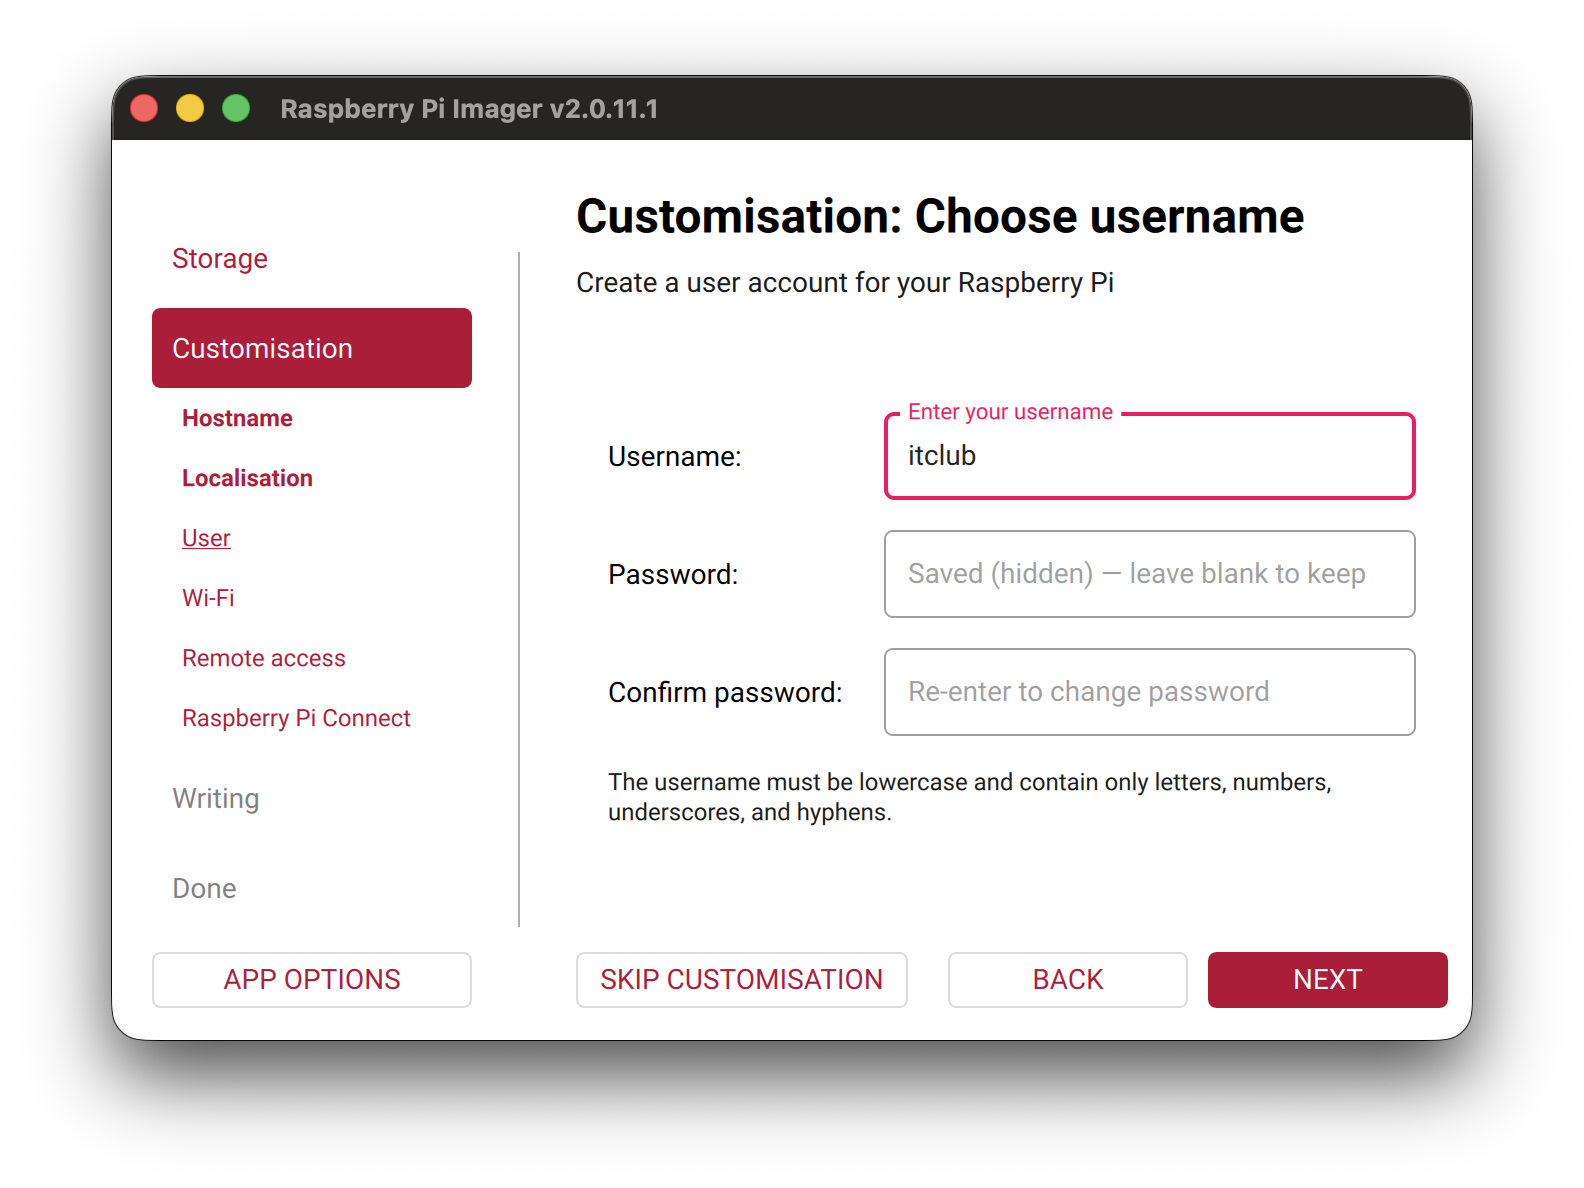
Customization: Set Username & Password
Enter the username and password for your Raspberry Pi.
-
Customization: Wifi, SSH, and Raspberry Pi Connect
Configure the Wifi, SSH, and Raspberry Pi Connect settings for your Raspberry Pi as needed. For the purposes of this guide, you can leave them at their default settings.
-
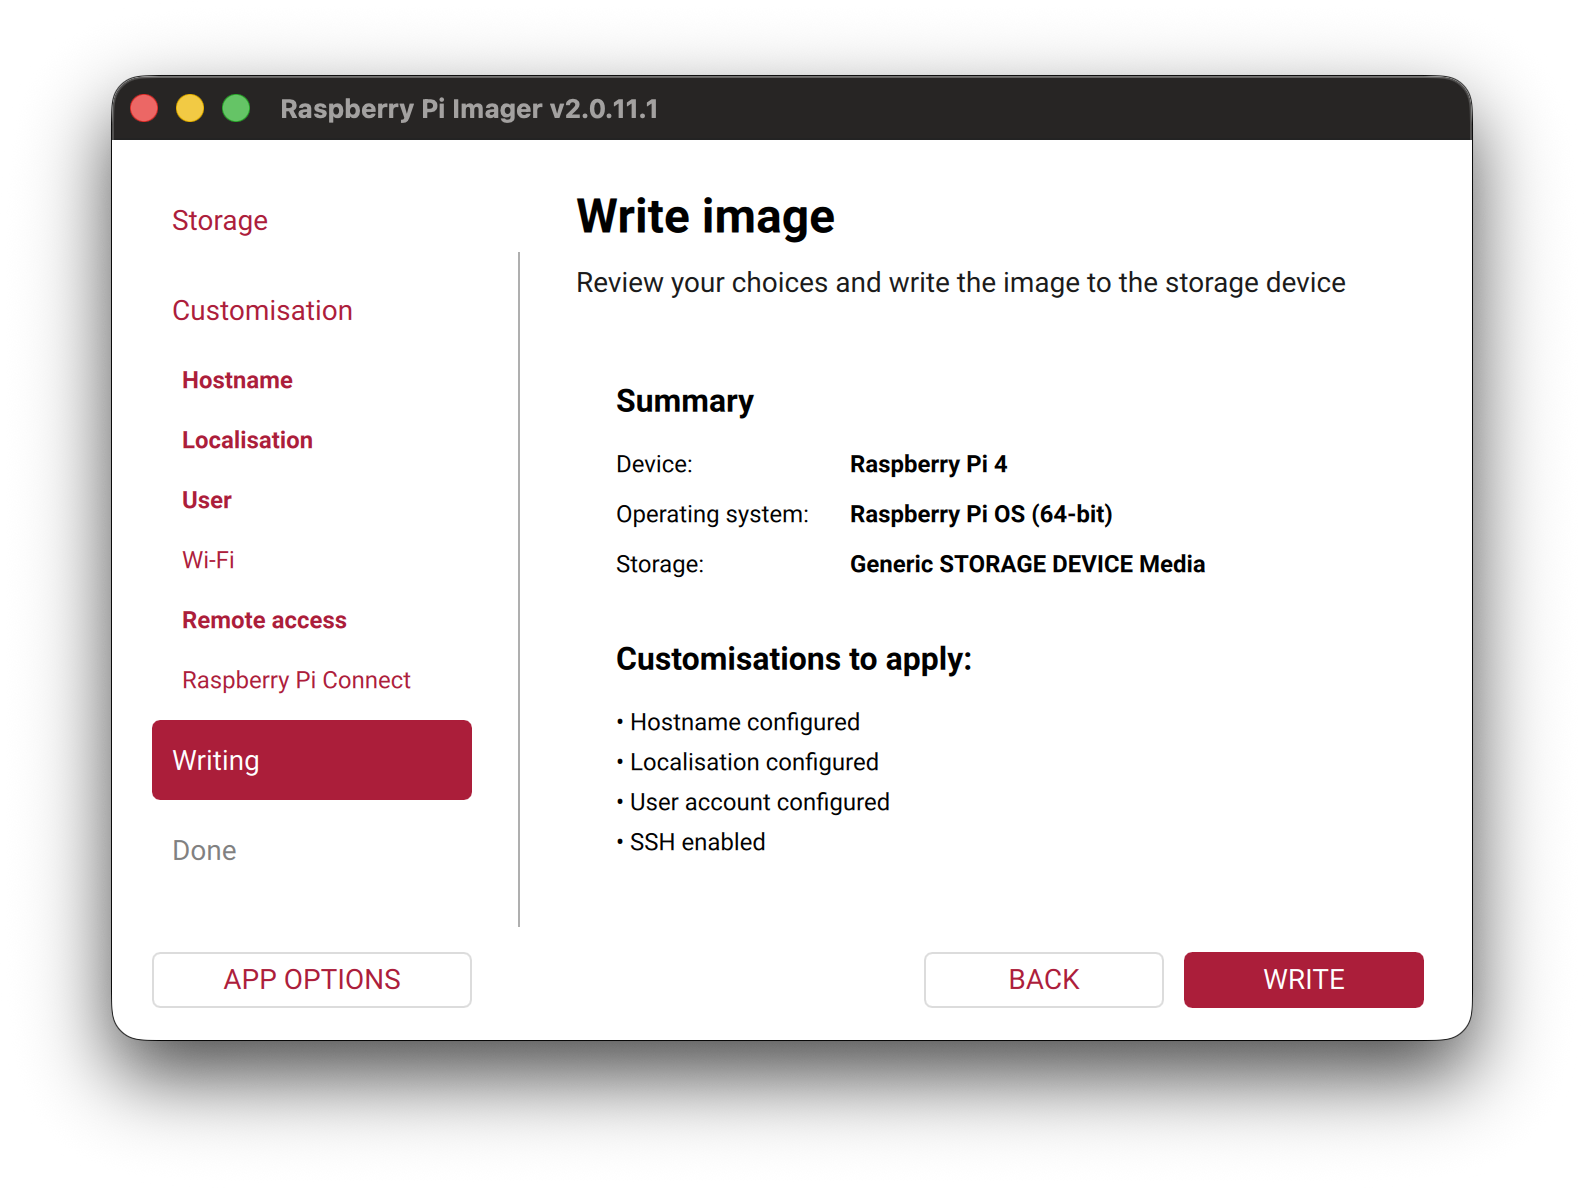
Write the operating system to the SD card
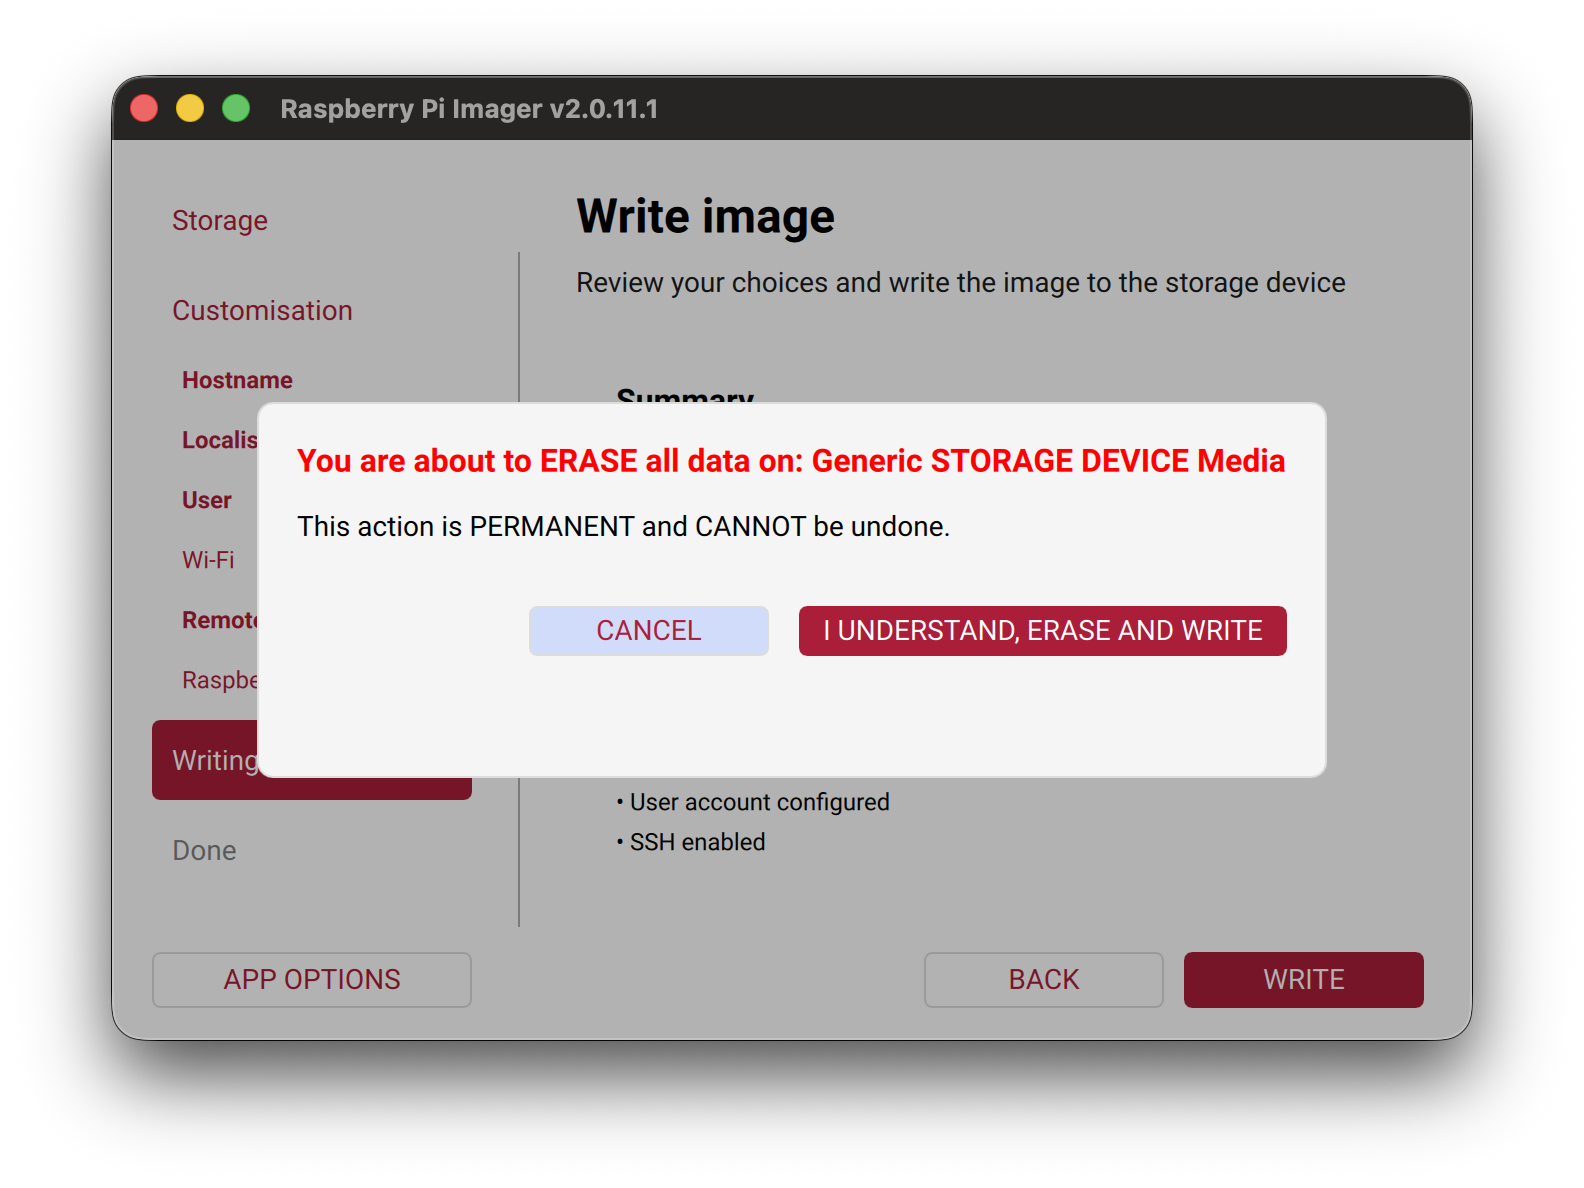
Once you have configured all the necessary settings, click Write to write the operating system to the SD card. Confirm that you want to proceed when prompted. You may also be prompted to input your password. Then, wait for the writing process to complete.
-
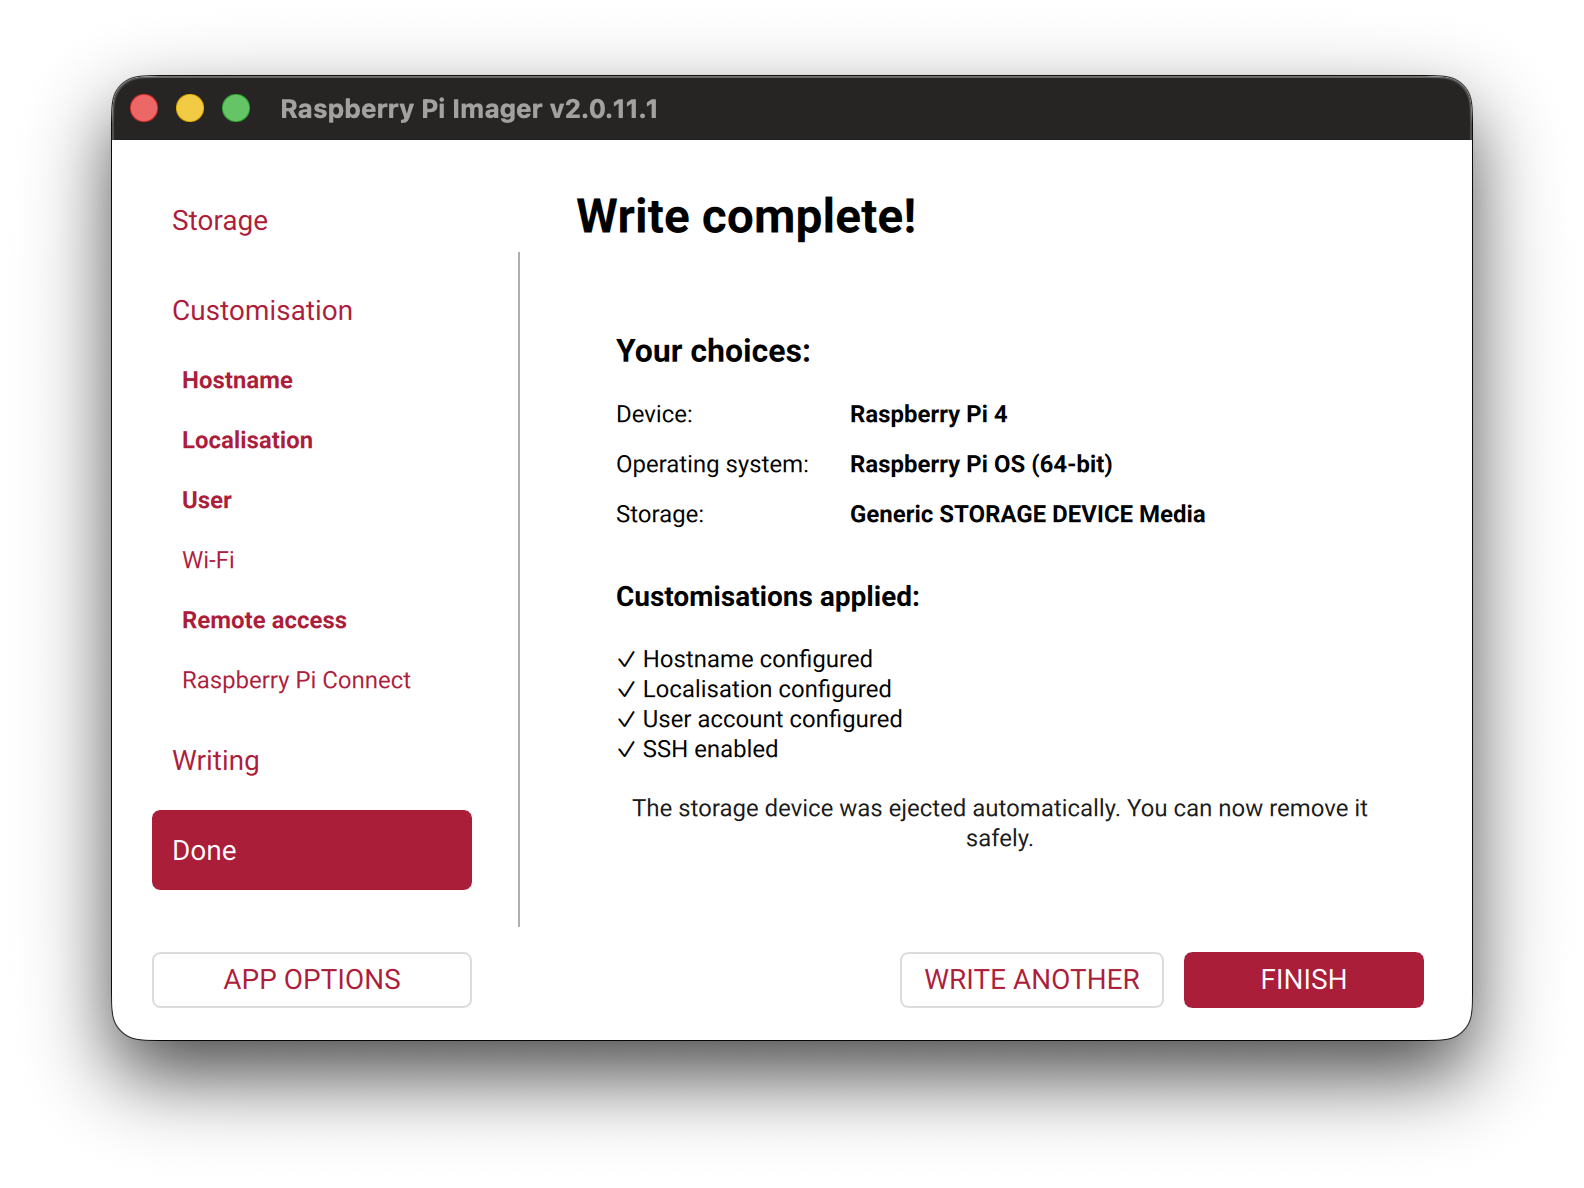
Write complete!
Select Finish when the write is complete. You have successfully written the operating system to the SD card. You can now remove the SD card from your computer and insert it into your Raspberry Pi to boot it up.
Boot the Raspberry Pi
Section titled “Boot the Raspberry Pi”Once Raspberry Pi Imager has finished:
- Remove the SD card from your computer.
- Insert it into the Raspberry Pi.
- Connect your monitor, keyboard, mouse, network connection, and any other necessary peripherals.
- Connect power to the Raspberry Pi.
Wait for Raspberry Pi OS to finish booting.
Once it has booted, open the Terminal.
You should see a command prompt similar to:
username@hostnameUpdate Raspberry Pi OS
Section titled “Update Raspberry Pi OS”After the Raspberry Pi has booted, update its package information and installed packages:
sudo apt updatesudo apt upgrade -yTroubleshooting the System Time
Section titled “Troubleshooting the System Time”If the system time is incorrect or is not synchronizing, you can restart network time synchronization:
sudo timedatectl set-ntp falsetimedatectl status
sudo timedatectl set-ntp truetimedatectl status
If the time is still incorrect, temporarily set it manually:
sudo date -s 'YYYY-MM-DD HH:MM:SS'Then open the Raspberry Pi configuration utility:
sudo raspi-configCheck that the correct time zone is configured.
Once the system time is correct, retry the commands that were previously failing.
Optional: Enable SSH Later
Section titled “Optional: Enable SSH Later”If you did not enable SSH through Raspberry Pi Imager, you can enable it later with:
sudo raspi-configNavigate to:
Interface Options → SSH → Yes
Press Enter to select each option.
You can also enable SSH through Preferences → Raspberry Pi Configuration in the desktop interface.
Optional: Back Up an SD Card
Section titled “Optional: Back Up an SD Card”You can create a compressed image of an existing Raspberry Pi SD card from another Linux system.
First, connect the SD card and determine its device name.
Create the backup:
sudo dd if=<device> status=progress bs=32M | gzip -c > <path-to-backup>/raspberrypi.img.gzTo restore the backup:
gunzip -c <path-to-backup>/raspberrypi.img.gz | sudo dd of=<device> status=progress bs=32MThe backup is compressed with gzip so that the resulting file does not necessarily occupy the full capacity of the SD card.
Optional: Clone an SD Card
Section titled “Optional: Clone an SD Card”To clone one SD card directly to another, connect both cards to the computer and determine their device names.
Clone the card with:
sudo dd bs=32M if=<input-device> of=<output-device>Once the command completes, the output SD card will contain a copy of the original card.